This is an old technique but one that I think far too few people know about. The process of converting color images to grayscale is not as easy as simply selecting grayscale from PhotoShop’s Image → Mode menu. Changing to grayscale by that method compresses the image’s natural balance, and even if the natural balance was preserved color and grayscale images are vastly different in how they react to color so special care has to be taken when discarding the color information in an image.
Getting started
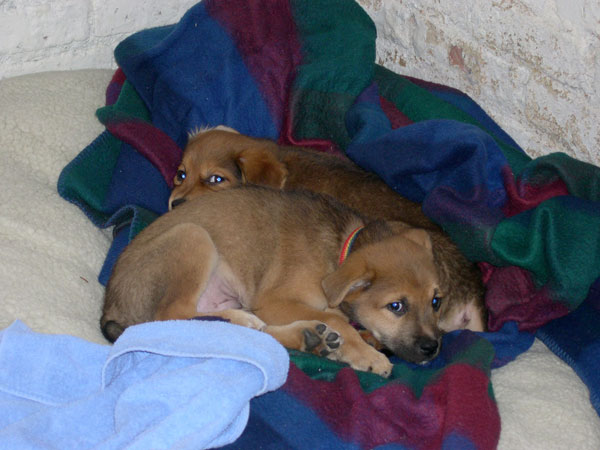
So here’s how to do it. It is not much more work than simply changing to grayscale but does take a bit of critical tweaking. And here is our original image, yep, that’s bear and dozer from when they were young. I chose this particular image for a few reasons. First of all it is a digital image. Digital images have a compressed dynamic range as it is. You can get a smoother range of shadow to highlight from most scanners but they still require special care. Also because it has a large amount of similar hued colors. There’s not a lot of variance between the dogs and the blanket they’re on other than the color of their fur.
What we don’t want
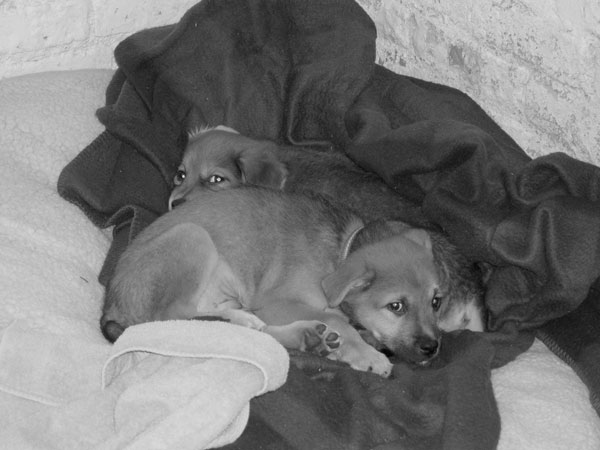
As you can see here, after a conversion to grayscale the colors in the blanket are similar and lose any form of variation. All those different colors will turn into the same color when converted to grayscale. Most separation of objects is also lost in the image when the dogs become the same color as the blanket and the blanket becomes almost all the same color. We’ve also lost what little dynamic range we had in the image – we’ve got a muddle of similar grays throughout the image.
Introducing the Channel Mixer
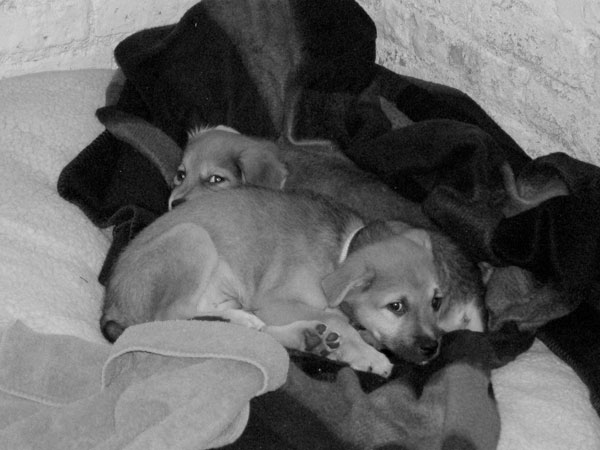
So what’s the secret? The channel mixer. Simply open Image → Adjustments → Channel Mixer, select the Monochrome option in the lower left hand corner, and start playing. This image is what my image looks like with the default settings in the channel mixer. Even with the defaults my image retains color separation of similar colors and maintains a better range of grays instead of the flat rendition that we get with the convert to grayscale command.
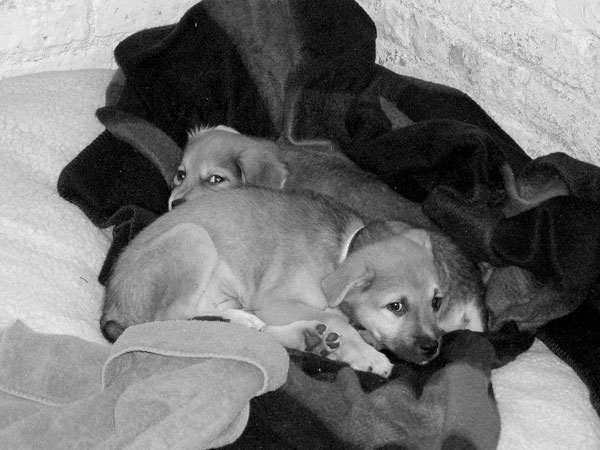
With a little tweaking we can achieve a much greater image than if we had simply used the convert to grayscale. I used settings of 84% red, -14% green, and 21% blue to get this balance. There’s a significant difference between this image and the first image we made by simple conversion. And keep in mind this is on an image from a digital camera that didn’t have that great a separation of objects to begin with. A well balanced image that has been scanned well will exhibit a much greater grayscale balance when using this technique.